
 Create a “6 point star” shape using custom shape tool.
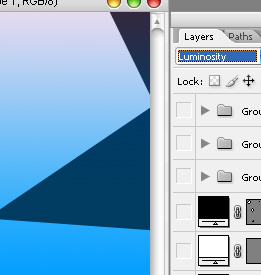
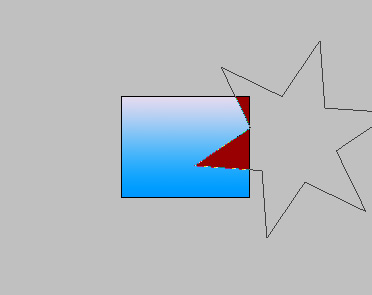 Change the layer mode to “Luminosity”.
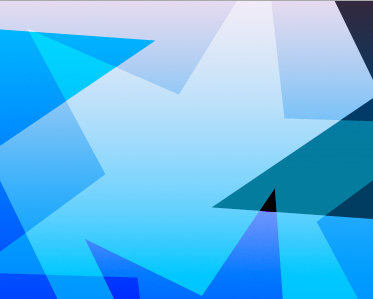
 Similarly create more star shapes and play around with their layer modes.
 Double click the layer to open layer style window. Apply settings as shown.
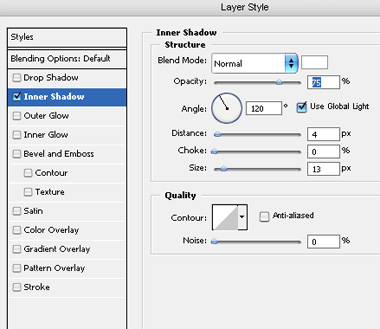 Change the layer mode to “Soft Light” and Fill value to 0%.
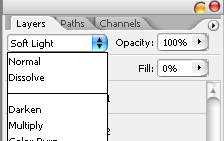
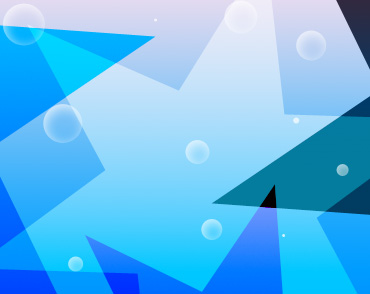 Similarly insert more shapes to create a complex background.
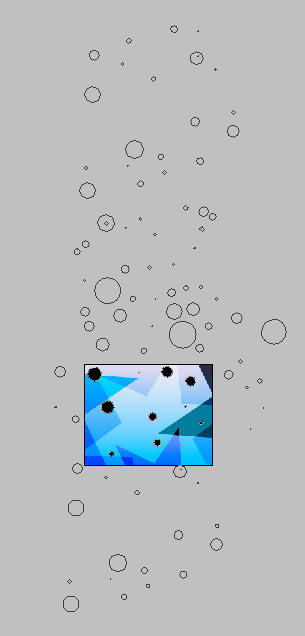
 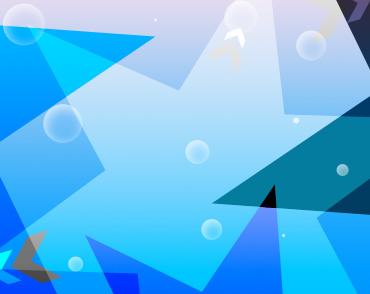 Open animation window. For the first frame move all objects beyond the edges. Align the top edge of bubble layer with the top edge of the file.
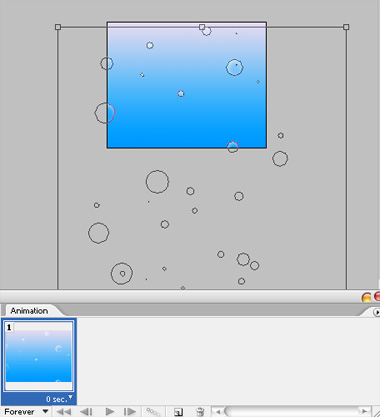
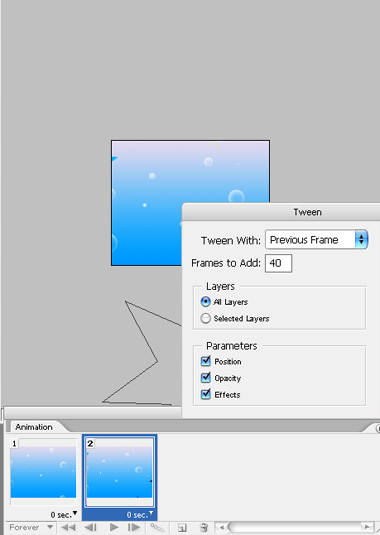
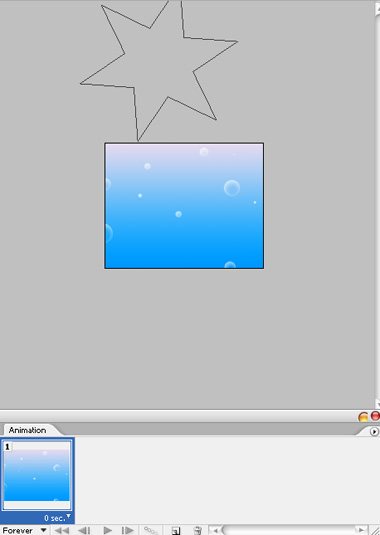 Duplicate frame. Move the bubble layer upwards. Move all other objects to the opposite directions and again out of boundaries.
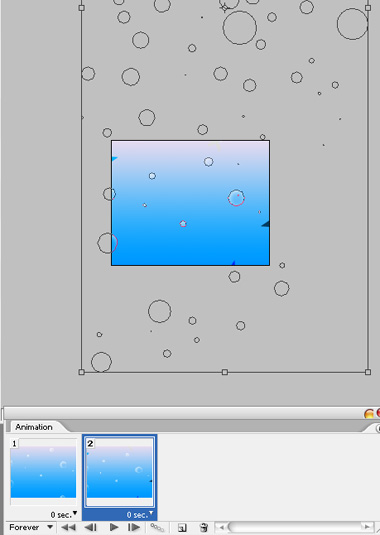
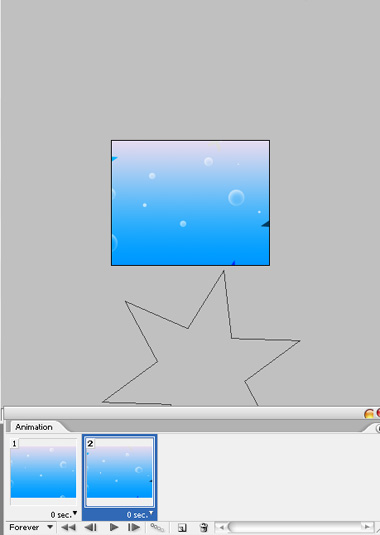 Click tween button from animation window. Apply settings as shown.
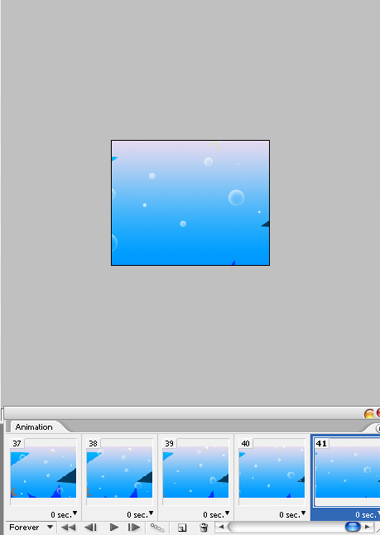 Press Ctrl+Alt+Shift+S to save an optimized animated GIF.
Thank you for visit our blog.
Hope you can learn something new from this tutorial. You can share your thought & suggestion with us though comments below.
Hope you can learn something new from this tutorial. You can share your thought & suggestion with us though comments below.
Discover the top most quality clipping path, clipping path service or low cost clipping path, image masking service & photo editing in reasonable price with quick turnaround time from Clipping Design, one of the most popular outsourcing clipping path service provider.
Clipping Design always ready to provide 100% handmade clipping path, photoshop clipping path, clipping path service, SEO service & photoshop masking with Guaranteed client satisfaction on top quality clipping path service & masking service .
Clipping Design always ready to provide 100% handmade clipping path, photoshop clipping path, clipping path service, SEO service & photoshop masking with Guaranteed client satisfaction on top quality clipping path service & masking service .
Thank you…
Reference: avivadirectory
Thanks for sharing your info and landscape image. I truly appreciate your efforts and I will be waiting for your next post thank you once again. Read more:
ReplyDeletebackground removal service