Today i would like to share how to inverted colors in photoshop. In this tutorial we use fantastic method to make this effect. So, why not have a try...

Step 2: Duplicate your background layer by pressing Ctrl+J.
Now Invert the background copy layer. Go to Image> Adjustments> Invert or press Ctrl+I.
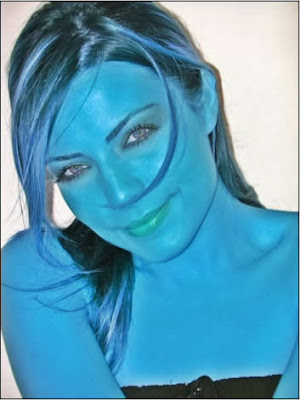
This inverts all of the colors on the layer, making each color its exact opposite color, replacing the greens and browns with magentas and blues.

inverting the image not only inverts the colors, it also inverts the luminosity (lightness) values, making light areas dark and dark areas light. All I want to do is change the colors while leaving the brightness values alone, so to do that, with the inverted layer still selected, I will go up to the Blend Mode options at the top of the Layers palette and change the blend mode from 'Normal' to Color:

The Color blend mode restores the original brightness values in the image, leaving only the colors inverted:

Set the new duplicated layer blending mode to 'Overlay'.

Go to Filter> Blur> Gaussian Blur and Radius value of around 10 pixels seems to work well.
You may want to use a higher setting for higher resolution images:


Get excellent quality clipping path service, clipping path, low cost clipping path or masking service from Clipping Design. Clipping Design always assure photo masking service, photoshop clipping path service, image editing service at quick turnaround time with Guaranteed client satisfaction on top quality image clipping service .
Thank you …
Reference: ttutorials
No comments:
Post a Comment