 Today i would like to share how to make glowing hart in photoshop. In this tutorial we use fnatastic method to make this effect. So, why not have a try...
First of all create a new big size image with black background. In the left menu click on Custom Shape Tool(U) and draw a shape you want to make , but don't make the shape too big because it will be hard to handle . I selected a heart.
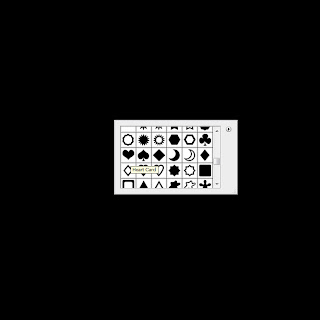
Now that you made your shape , go to Pen Tool (P) , right click on the shape and click Make Selection . Now that the area are selected fill in with a color.
 Now create a new layer (Shift+Ctrl+N) , and install this brush pack. Now with one of the new brushes and with white color draw a brush with the size bigger then the shape you selected.
 Now you have to make the brush take the shape you want . For this heart is enough to make half of it because it's symmetrical . Press Ctrl+T for transform and Right Click on it to rotate it in the position you want .
 Now make it look better and take the shape you want . For this , press Ctrl+T , right click on it and click on Warp. Play around with the image until you get something like this :

For a better accuracy , you have to warp it more then once. After the second warp and the image look like this:
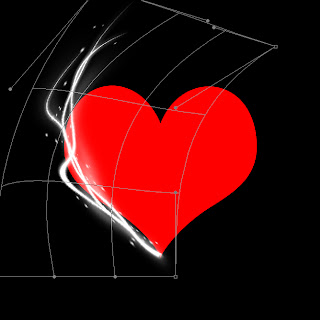 The image still don't look like i want so i will warp it again (Ctrl+T then right click and select warp).
 Now the hard part is over . Hide the layer with the background and select the new layers content ( Ctrl+A ) and copy the selected area ( Ctrl+C). Then create a new file (Ctrl+N) then paste (Ctrl+V) . On the top menu , go to Image-Rotate Canvas-Flip Canvaz Horizontal. Select the resulting image ( Ctrl+A) , then copy it (Ctrl+C) and paste it on your first document.Make the background visible again and move the pasted area like in the image below.
Now you can make your background image black because you don't need the original shape now . Hide the brushed layers and on the background image fill everything black(Alt+Backspace).
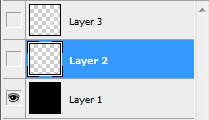 Now make the layers visible again and select the layer 3 and merge it down (Ctrl+E) . Now your image should look like this:
 The image is already done now you just have to add some color. Create a new layer ( Shift+Ctrl+N) and brush some color around the shape then set the layer mode to Overlay.

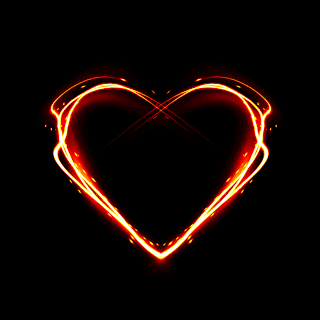
Hope you can learn something new from this tutorial.
Discover the top most quality clipping path, clipping path service, photoshop clipping path service or low cost clipping path, image masking service in reasonable price with quick turnaround time from Clipping Design, one of the most popular outsourcing clipping path service provider.
Clipping Design always ready to provide 100% handmade clipping path, photoshop clipping path, clipping path service, SEO service, image editing service & image clipping service with Guaranteed client satisfaction on top quality masking service
Clipping Design always ready to provide 100% handmade clipping path, photoshop clipping path, clipping path service, SEO service, image editing service & image clipping service with Guaranteed client satisfaction on top quality masking service
Thank you…
Reference:easy-psd
No comments:
Post a Comment