Create a Cylinder, rotate it, set Height to 280 and Radius to 10.
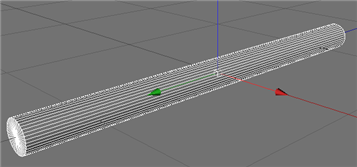
Make object editable (shortcut C). Go to the top view (Cameras->Top)
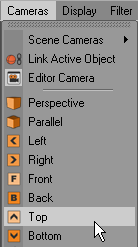
and use Knife. Uncheck Visible Only, make a cut.

Use Live Selection Tool, uncheck Only Select Visible Elements. Select polygons.
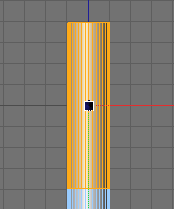
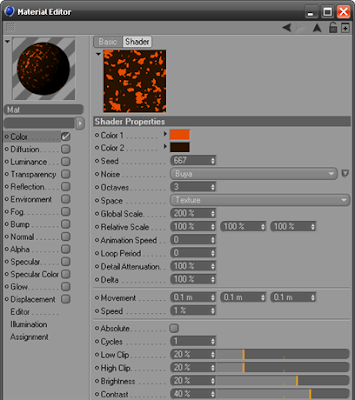
Create new material. Select Noise on the Color Tab.

Click on the noise image to go inside Options.

Enter options like on the image. Set Color 1 (208, 141, 26) and Color 2 (249, 220, 91).
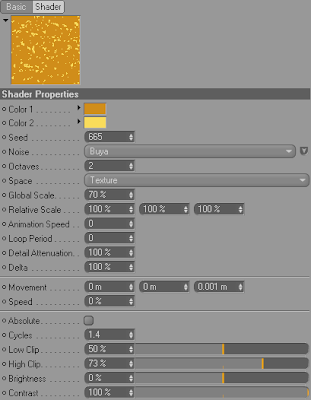
Drag the material onto the cigarette.
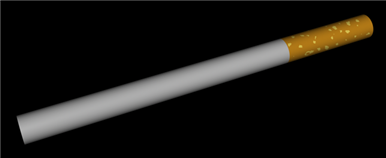
Now make it look like cartoon. To do so select Sketch Material

Let’s render this.
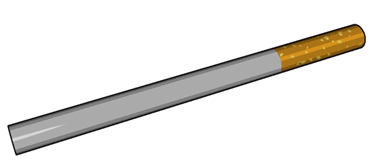
Let’s change some options. Create Light Object. Go to Render->Render Settings and change quantize from 6 to 3.
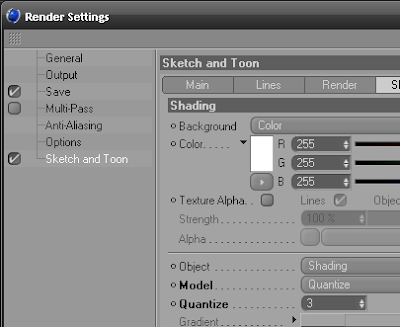
Render image.
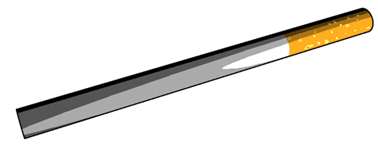
And now it’s time to create the cigarette’s glow effect.
Create a new material and set the options.
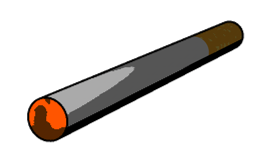
The end effect should look like this.
You will get a much better effect when you render a preview. Just go to Render->Make Preview (shortcut Alt-B).

Thank you for
visit our blog.
Hope you can learn something new from this tutorial. You can share your thought & suggestion with us though comments below.
Hope you can learn something new from this tutorial. You can share your thought & suggestion with us though comments below.
Discover the
top most quality clipping
path, clipping
path serviceor low cost clipping path, image
masking service&photo
editingin
reasonable price with quick turnaround time from Clipping Design, one of the most popular outsourcing clipping path service provider.
Clipping Design always ready to provide 100% handmade clipping path, photoshop clipping path, clipping path service, SEO service&photoshop maskingwith Guaranteed client satisfaction on top quality clipping path service&masking service .
Clipping Design always ready to provide 100% handmade clipping path, photoshop clipping path, clipping path service, SEO service&photoshop maskingwith Guaranteed client satisfaction on top quality clipping path service&masking service .
Thank you…
Reference: tomdecker.blogspot.com
No comments:
Post a Comment