Our first step will be to create a tiny little image which will serve as our fill pattern. This pattern will be used later to fill and entire layer. There are lots of possible variations here, so I'm just going to make a simple pattern that will generate horizontal lines.
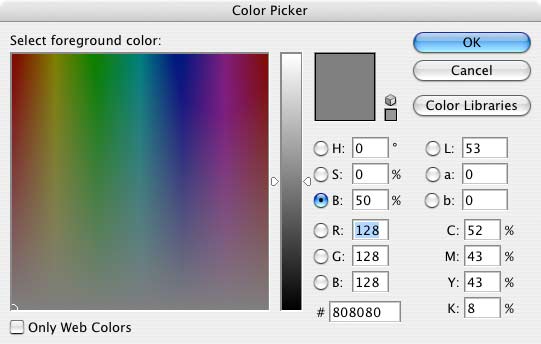
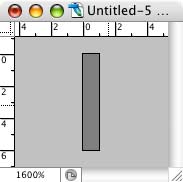
So create a new document in Photoshop that's 1 pixel wide by 6 pixels high with a transparent background. Use the Navigator palette to zoom in all the way to 1600% so you can see the pixels clearly. Now set the foreground color to 50% gray. The easiest way to do this is to hit "d" to set the default foreground/background colors to black and white, then click the foreground color to bring up the color picker, click the "B" control in the HSB section and set it's value to 50% (H and S should be zero).
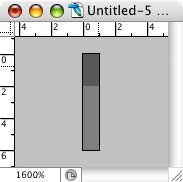
Now fill the layer with gray by hitting option-delete (or alt-delete on Windows). Your image should look like this now:
Select Edit->Define Pattern and give it the name "Scan Lines".
Photoshop will now remember this pattern internally and you can close
and discard this document without saving it.

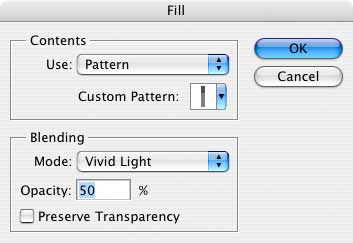
Now we'll add the pattern we created earlier on top of this background. Select Edit->Fill and choose Pattern from the menu. Find the pattern created above in the Custom Pattern menu and set the Blending mode to Vivid light and the Opacity to 50%.

It's just as easy to make vertical lines by
creating a pattern that's 1 pixel high by several pixels long. By
changing the length of the pattern, you can control how thick the lines
are and how far apart they're spaced. You can create checker board
patterns this way as well. And if you want a more pronounced effect,
just increase the Opacity setting in the Fill dialog.
Hope you enjoy
it &learn something new from this tutorial.
Determinebest
quality clipping path, clipping
path service, low cost clipping path or photoediting&image
masking service
from Clipping Design. Clipping Design always assurephotoshopmasking, image
editing service
at quick turnaround time with Guaranteed client satisfaction on top quality SEO service. You can also discover 100% handmade clipping path&clipping path service in reasonable price.
Thank you…
Reference: photoshopessentials
No comments:
Post a Comment