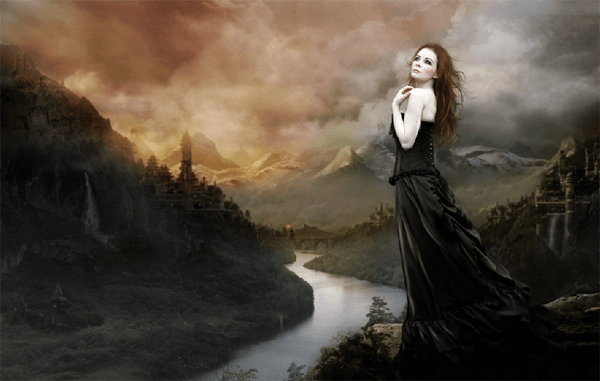
In today's tutorial we will present how to make breathtaking scene in Photoshop. We use blend elements together using nondestructive techniques, paint with vibrant colors, and blur/smudge to create this tutorial So let's have a look.....
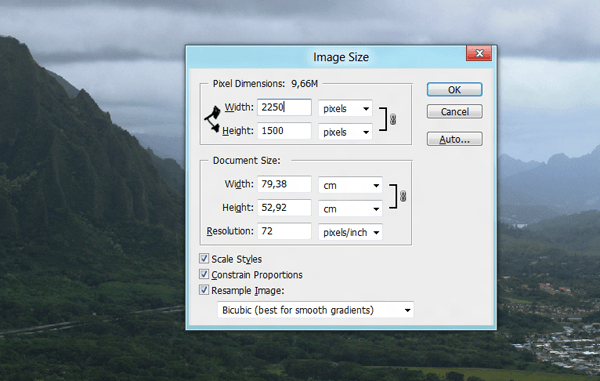
Step 1 – Size
Open the background stock. The size of the stock is width: 2250px and Height: 1500px.
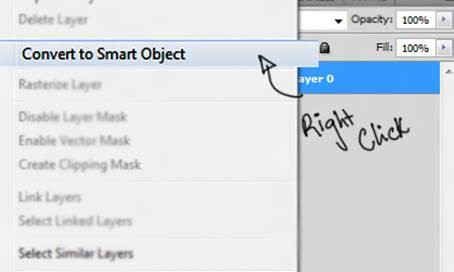
Step 2 – Smart Object
Transform the background into a smart object. Pressing right click in the layer thumbnail and selecting the option Convert to smart object.
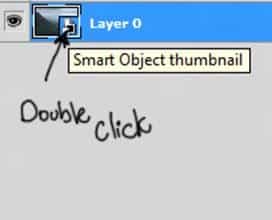
Step 3 – Smart Object
Press double click in the smart object thumbnail.
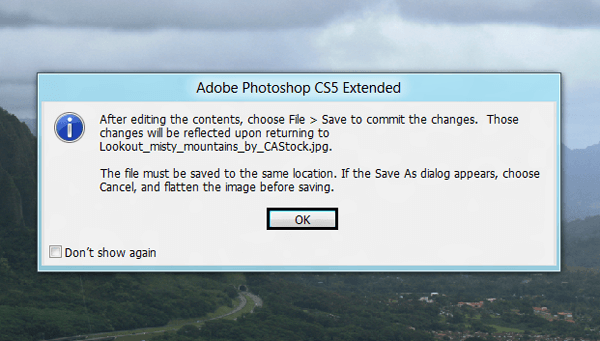
Step 4 – Edit
Now a new window will pop up. This allow you to edit the smart object. So press ok.
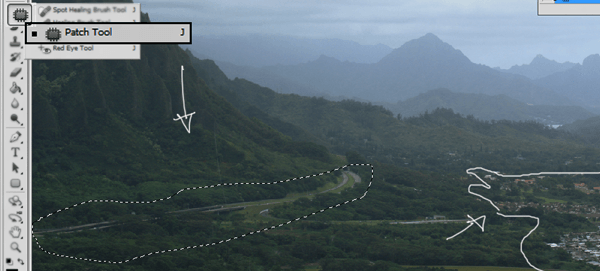
Step 5 – Duplicate
Now press Ctrl+J to duplicate the layer in case you need to go back to the original image.In this layer you will use the patch tool to hide undesired parts of the image.
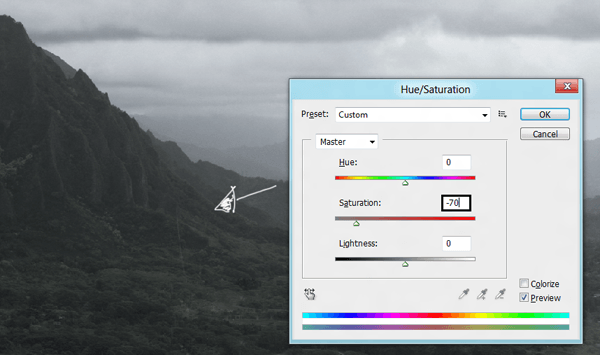
Step 6 – Duplicate and Change color
Press Ctrl+J to duplicate the layer and then press Ctrl+U and in the option saturation put -70. The image will have this color.
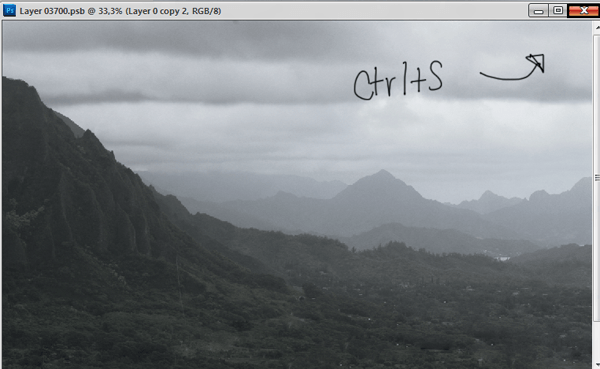
Step 7 – Save
The the changes you made to the smart object press ctrl + S and close the window.
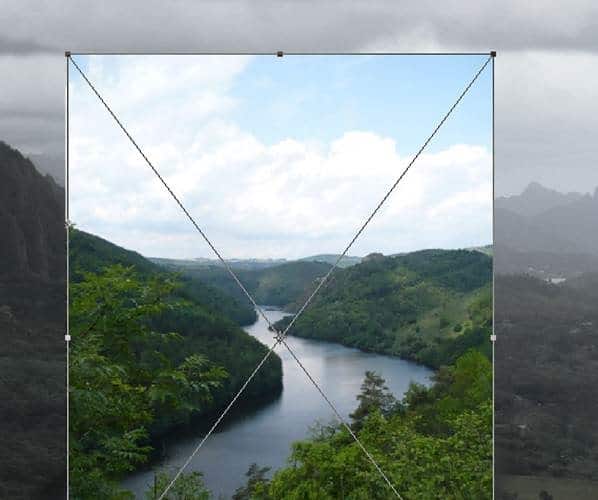
Step 8 – River
Now go to folder you have the stocks and grab the image of the river. You will see that the image is an smart object itself, you can change the size clicking in the corners.
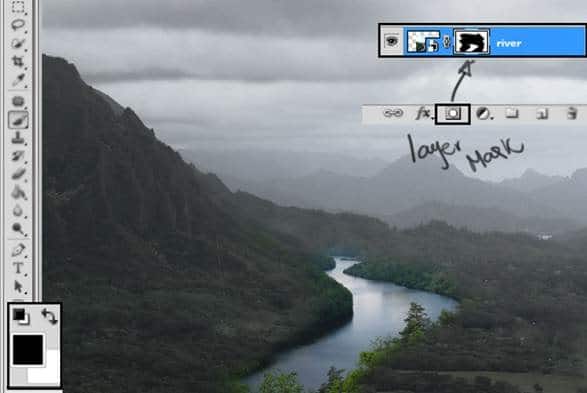
Step 9 – Layer Mask
Create a layer mask to erase the undesired parts of the image. Pick a soft round brush to paint over the parts you want to remove. You will have something like this:
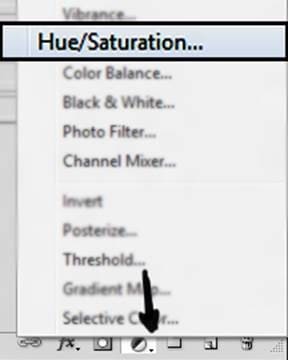
Step 10 – Hue and Saturation
Go to Create a new fill or adjustment layer and click in the option Hue/Saturation.
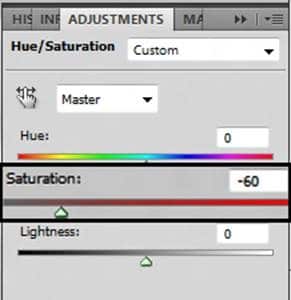
Reduce the Saturation to -60.
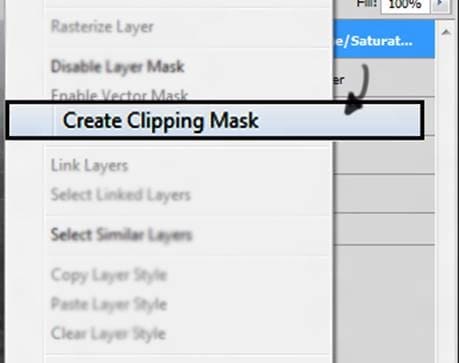
Step 11 – Apply to one object
To Apply the changes only in the layer of the river you have to press right click over the Hue and Saturation layer and select the option Create Clipping Mask.
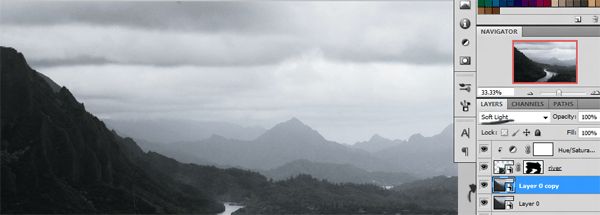
Step 12 – Duplicate
Now go back to the Background image and duplicate the layer pressing Ctrl+J and then change the layer mode to soft light.
Hope you can learn something new from this tutorial.
I feel really glad if you give me feedback through comment below. Soon i am going to show more interesting & innovative tutorials so please keep visit our blog. That’s for now.
Have fun!
Feel free to contact with Clipping Design for clipping path service, image editing service, image masking service or any kind of design support.
Thank you…
Credit: photoshoptutorials
This comment has been removed by the author.
ReplyDeleteThis is so beautiful and perfect colors for the period. Gorgeous!
DeletePlease Take a Look our Photo Editing Service:
Image Work India
Clipping Path Service
Photo Retouching Service
Remove Background Service Provider
Color Correction Service
Ecommerce Photo Editing Service
Ghost Mannequin Service
Image Masking Service
Jewelry Retouching Service
Shadow Creation Service
That's really a breathtaking photo. And thanks a lot for sharing this really interesting trick. Now I understand how photoshop services online providers can breathtaking photos.
ReplyDeleteGreat tutorial :)
ReplyDeleteclipping path service | photo retouching service | neck joint service | clipping solutions
Sounds and great post! You have wrote really much more informative and I appreciate your works, However I've read the post and get somthing diffrent idea about Image Clipping Service, Clipping Path, Image Mask, Remove Image Background
ReplyDeleteThis comment has been removed by the author.
ReplyDeleteVery informative content. I read this carefully and also saw your attached video. Thanks for sharing such a nice article. Visit our site pixigraphics.com and get some exciting photoshop editing services.
ReplyDelete