Today's tutorial we will present how to make a retro-style wallpaper in Photoshop. Make this tutorial we use
shiny textures, loads of lens flares, and bright colors in Photoshop. So let's check it out.......
Step 1
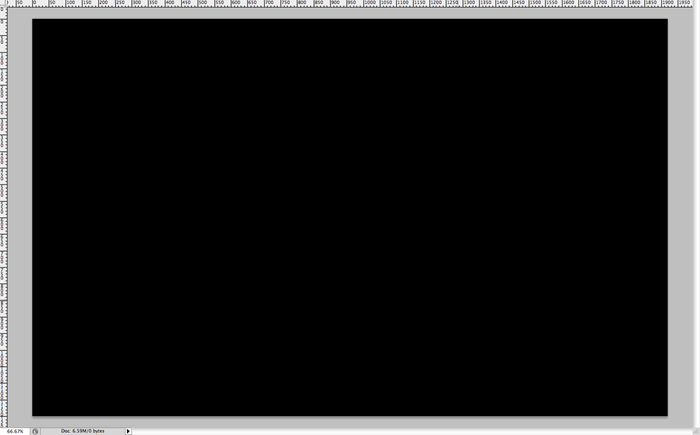
Create a new document in Photoshop. Make it 1920 by 1200 which is a standard HD Wallpaper size. Now fill the document with black.
Step 2
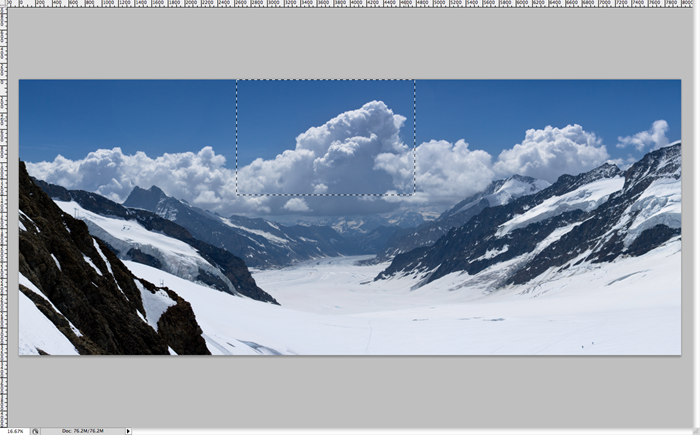
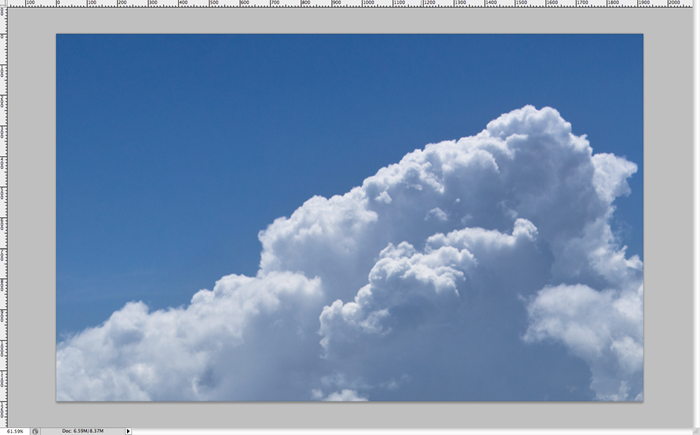
Now open up your mountain/clouds picture and select the bit of clouds that you want in your background, or choose another background that you’d like for your wallpaper.
Step 3
Copy and paste the image you’d like (clouds in this case) into your wallpaper.
Step 4
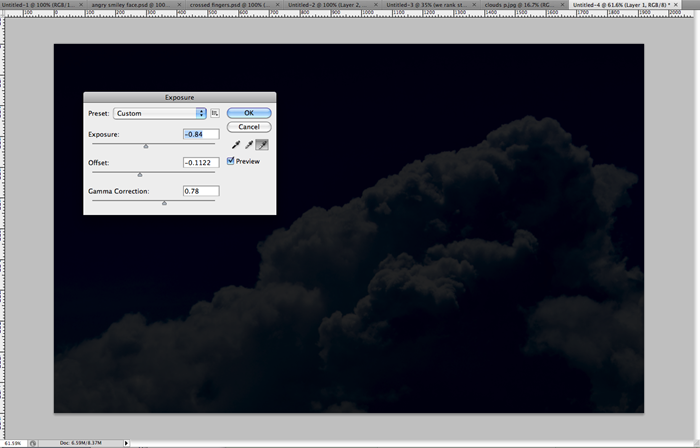
Go to Image>Adjustments>Exposure and bring down the exposure and the offset and bump up the gamma a bit. This will creat some contrast and darken up your image so it’s punchy.
Step 5
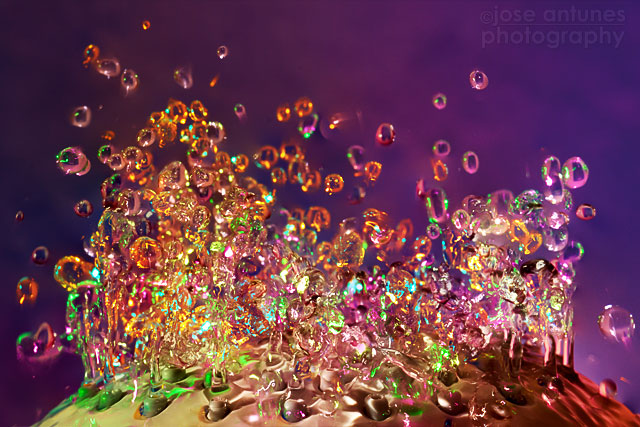
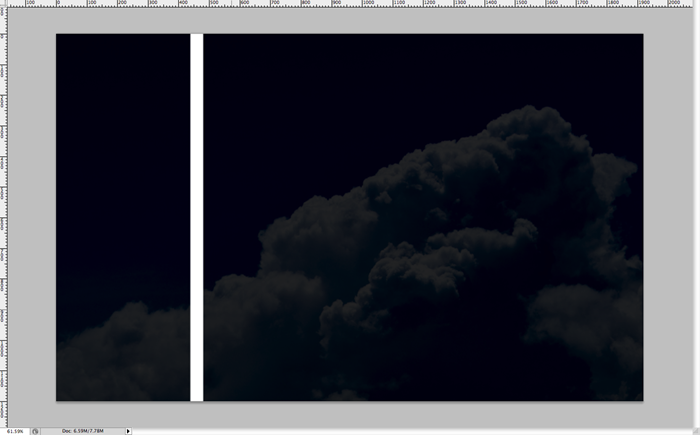
In a new layer, use your marque tool and create a rectangle and fill it with white.
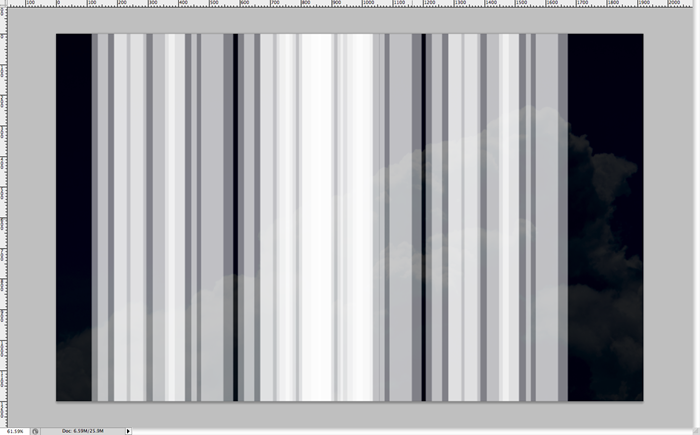
Step 6
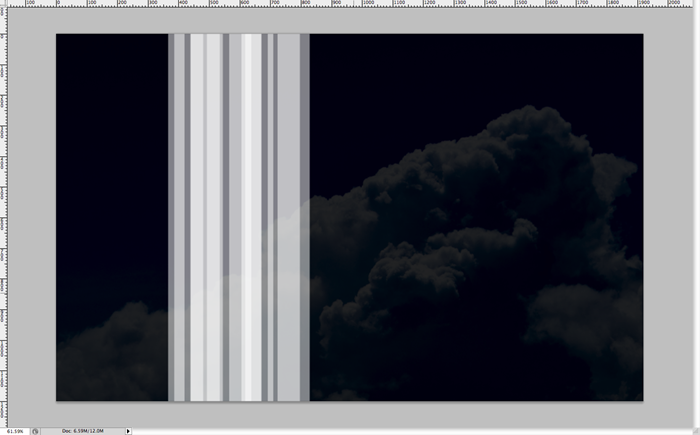
Duplicate this white rectangle layer many times and start lowering the opacities at random levels. This will create something like the image bellow.
Step 7
When you’ve made about 10-20 dupicated layers with random opacities then go ahead and group them (highlight them all and hit ctrl/cmd + G) and then dupicate the group a couple of times to save you time. Then simply spread out the groups of rectangles by clicking and dagging them so they look randomish. This step is purely to save you time, and you can skip it if you want the ultimate random look to your wallpaper, but it will just take you longer.
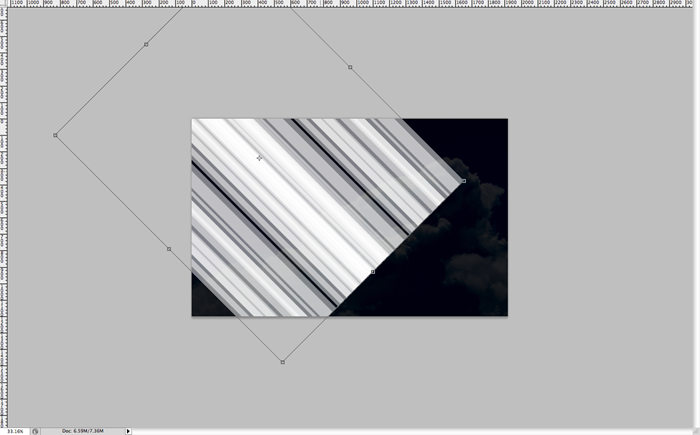
Step 8
When you’re satisfied with your rectangle shape collage, form one final group with all your single rectangle group layers. If you’ve created multiple subgroups, then just group them all so that you can hit ctrl/cmd + T and rotate them all 45% to one side like so.
advertise here
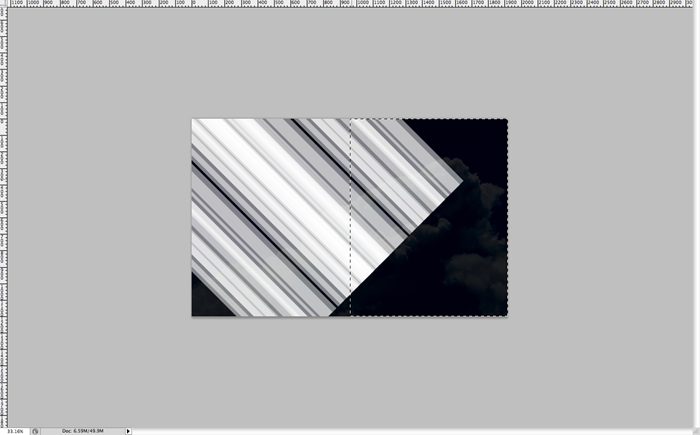
Step 9
This design that we’re doing is a “V” shape, so you need to highlight exactly one half of the wallpaper (to the opposite side you rotated your rectangle group) and create a mask. This will hide the portion that you haven’t selected. Then invert the mask by hiting ctrl/cmd + I. You could also do this step by selecting the side you want to keep and hitting the mask button for the exact same result.
Step 10
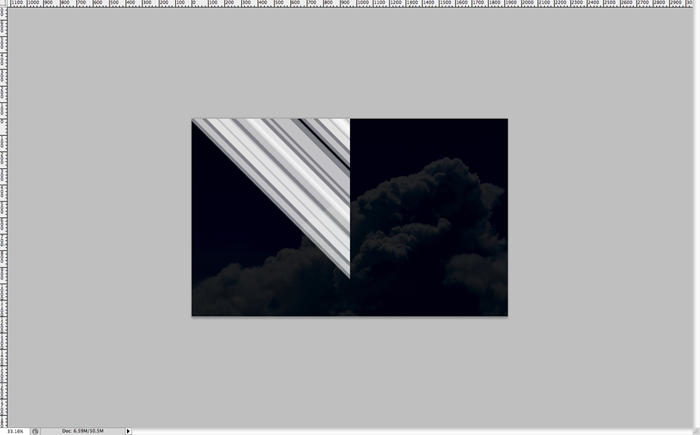
Then you can either move your group around so it looks like half of a “V” shape, or you can make a diagonal selection and mask out that region as well so you end up with something like this. You can do this editing on your mask layer by selecting it. Just remember that whatever is in white will show up, and whatever is in black will be invisible.
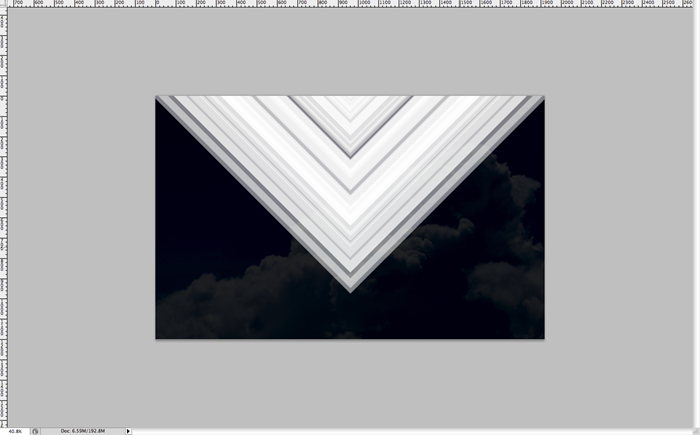
Step 11
Once you’re satisfied with your masking, go ahead and duplicate the group and flip it by hitting ctrl/cmd + T, then right clicking and hitting “flip horizontal”. Now you should see something like this.
Step 12
This is a checkpoint. Your layers should look similar to this. Now to save you space and memory, and make sure your computer doesn’t get bogged down by the size of the photoshop document you can duplicate this layer to make a copy, turn off the visibility (in the layers menu… it looks like an eye… click it!) and then flatten your new copy so it becomes a flat layer.

Hope you can learn something new from this tutorial.
I feel really glad if you give me feedback through comment below. Soon i am going to show more interesting & innovative tutorials so please keep visit our blog. That’s for now.
Have fun!
Feel free to contact with Clipping Design for clipping path service, image editing service, image masking service or any kind of design support.
Thank you…
Credit: photoshoptutorials